EmbedOps DevKit Quickstart
Welcome to the EmbedOps DevKit Quickstart Guide!
This quickstart guide will walk you through setting up your first embedded project using EmbedOps with Zephyr RTOS. By the end of this guide, you'll have a working LED blinky application running on your hardware, with the full power of EmbedOps like CI/CD, memory analysis, and more at your fingertips.
Prerequisites
To use this quickstart, you should have an EmbedOps devkit. These are available from our sales team upon request. If you don't have one yet, please contact us to get started.
This guide assumes you've just created an EmbedOps account. No other setup or tools are required - we'll walk through everything you need!
What You'll Build
In this quickstart, you'll:
- Install the EmbedOps CLI and required tools
- Initialize a new EmbedOps project
- Add Zephyr RTOS support with either Rust or C
- Build and run a simple LED blink application
- Explore additional EmbedOps features
Step 1: Install the EmbedOps CLI
First, let's install the EmbedOps command-line interface (CLI). The CLI is your primary tool for interacting with EmbedOps features.
Verify the installation:
For detailed installation instructions and troubleshooting, see our Installation Guide.
Step 2: Install Docker
EmbedOps uses Dev Containers to provide consistent development environments. You'll need Docker or a compatible container runtime.
- Recommended: Install Docker Desktop
- Alternative: See Docker alternatives if Docker Desktop doesn't meet your needs
Step 3: Log In to EmbedOps
Connect your CLI to your EmbedOps account:
This will open a browser window for authentication. Once logged in, you can close the browser and return to your terminal.
For more details, see Logging In.
Step 4: Create Your Project
Create a new directory for your DevKit project and initialize it with EmbedOps:
The eo init command will prompt you for:
- CI Provider: Choose your preferred CI system (GitLab, GitHub, or Bitbucket)
- Linux Distribution: Select the base container OS (Ubuntu recommended)
This creates:
.embedops/repo_id.yml- Connects your repo to the EmbedOps platform.embedops/template-settings.yml- Saves your configuration choices.devcontainer/- Dev Container configuration- CI configuration files for your chosen provider
Step 5: Add Zephyr Template and Project Support
Now let's add DevKit support to your project. EmbedOps supports both Rust and C development:
You'll be prompted to choose between:
- Rust - For Rust-based Zephyr development
- C - For traditional C-based Zephyr development
Choosing Between Rust and C
- Choose Rust if you want memory safety features and modern language constructs
- Choose C if you prefer traditional embedded development
This command sets up:
- Zephyr SDK and toolchain in your Dev Container
- Build system configuration (CMake for C, Cargo for Rust)
- Sample LED blink application
- CI pipeline for building your Zephyr application
Step 6: Build Your LED Blink Application
Open in VS Code with Dev Containers
- Install VS Code and the Dev Containers extension
- Open your project folder in VS Code
- When prompted, click "Reopen in Container" (or use Command Palette: "Dev Containers: Reopen in Container")
Build the Project
Once inside the Dev Container, run:
You have just built your application without needing to install any additional tools on your host machine in a managed environment!
Step 7: Flash and Run
Install the dfu-util tool for flashing your application:
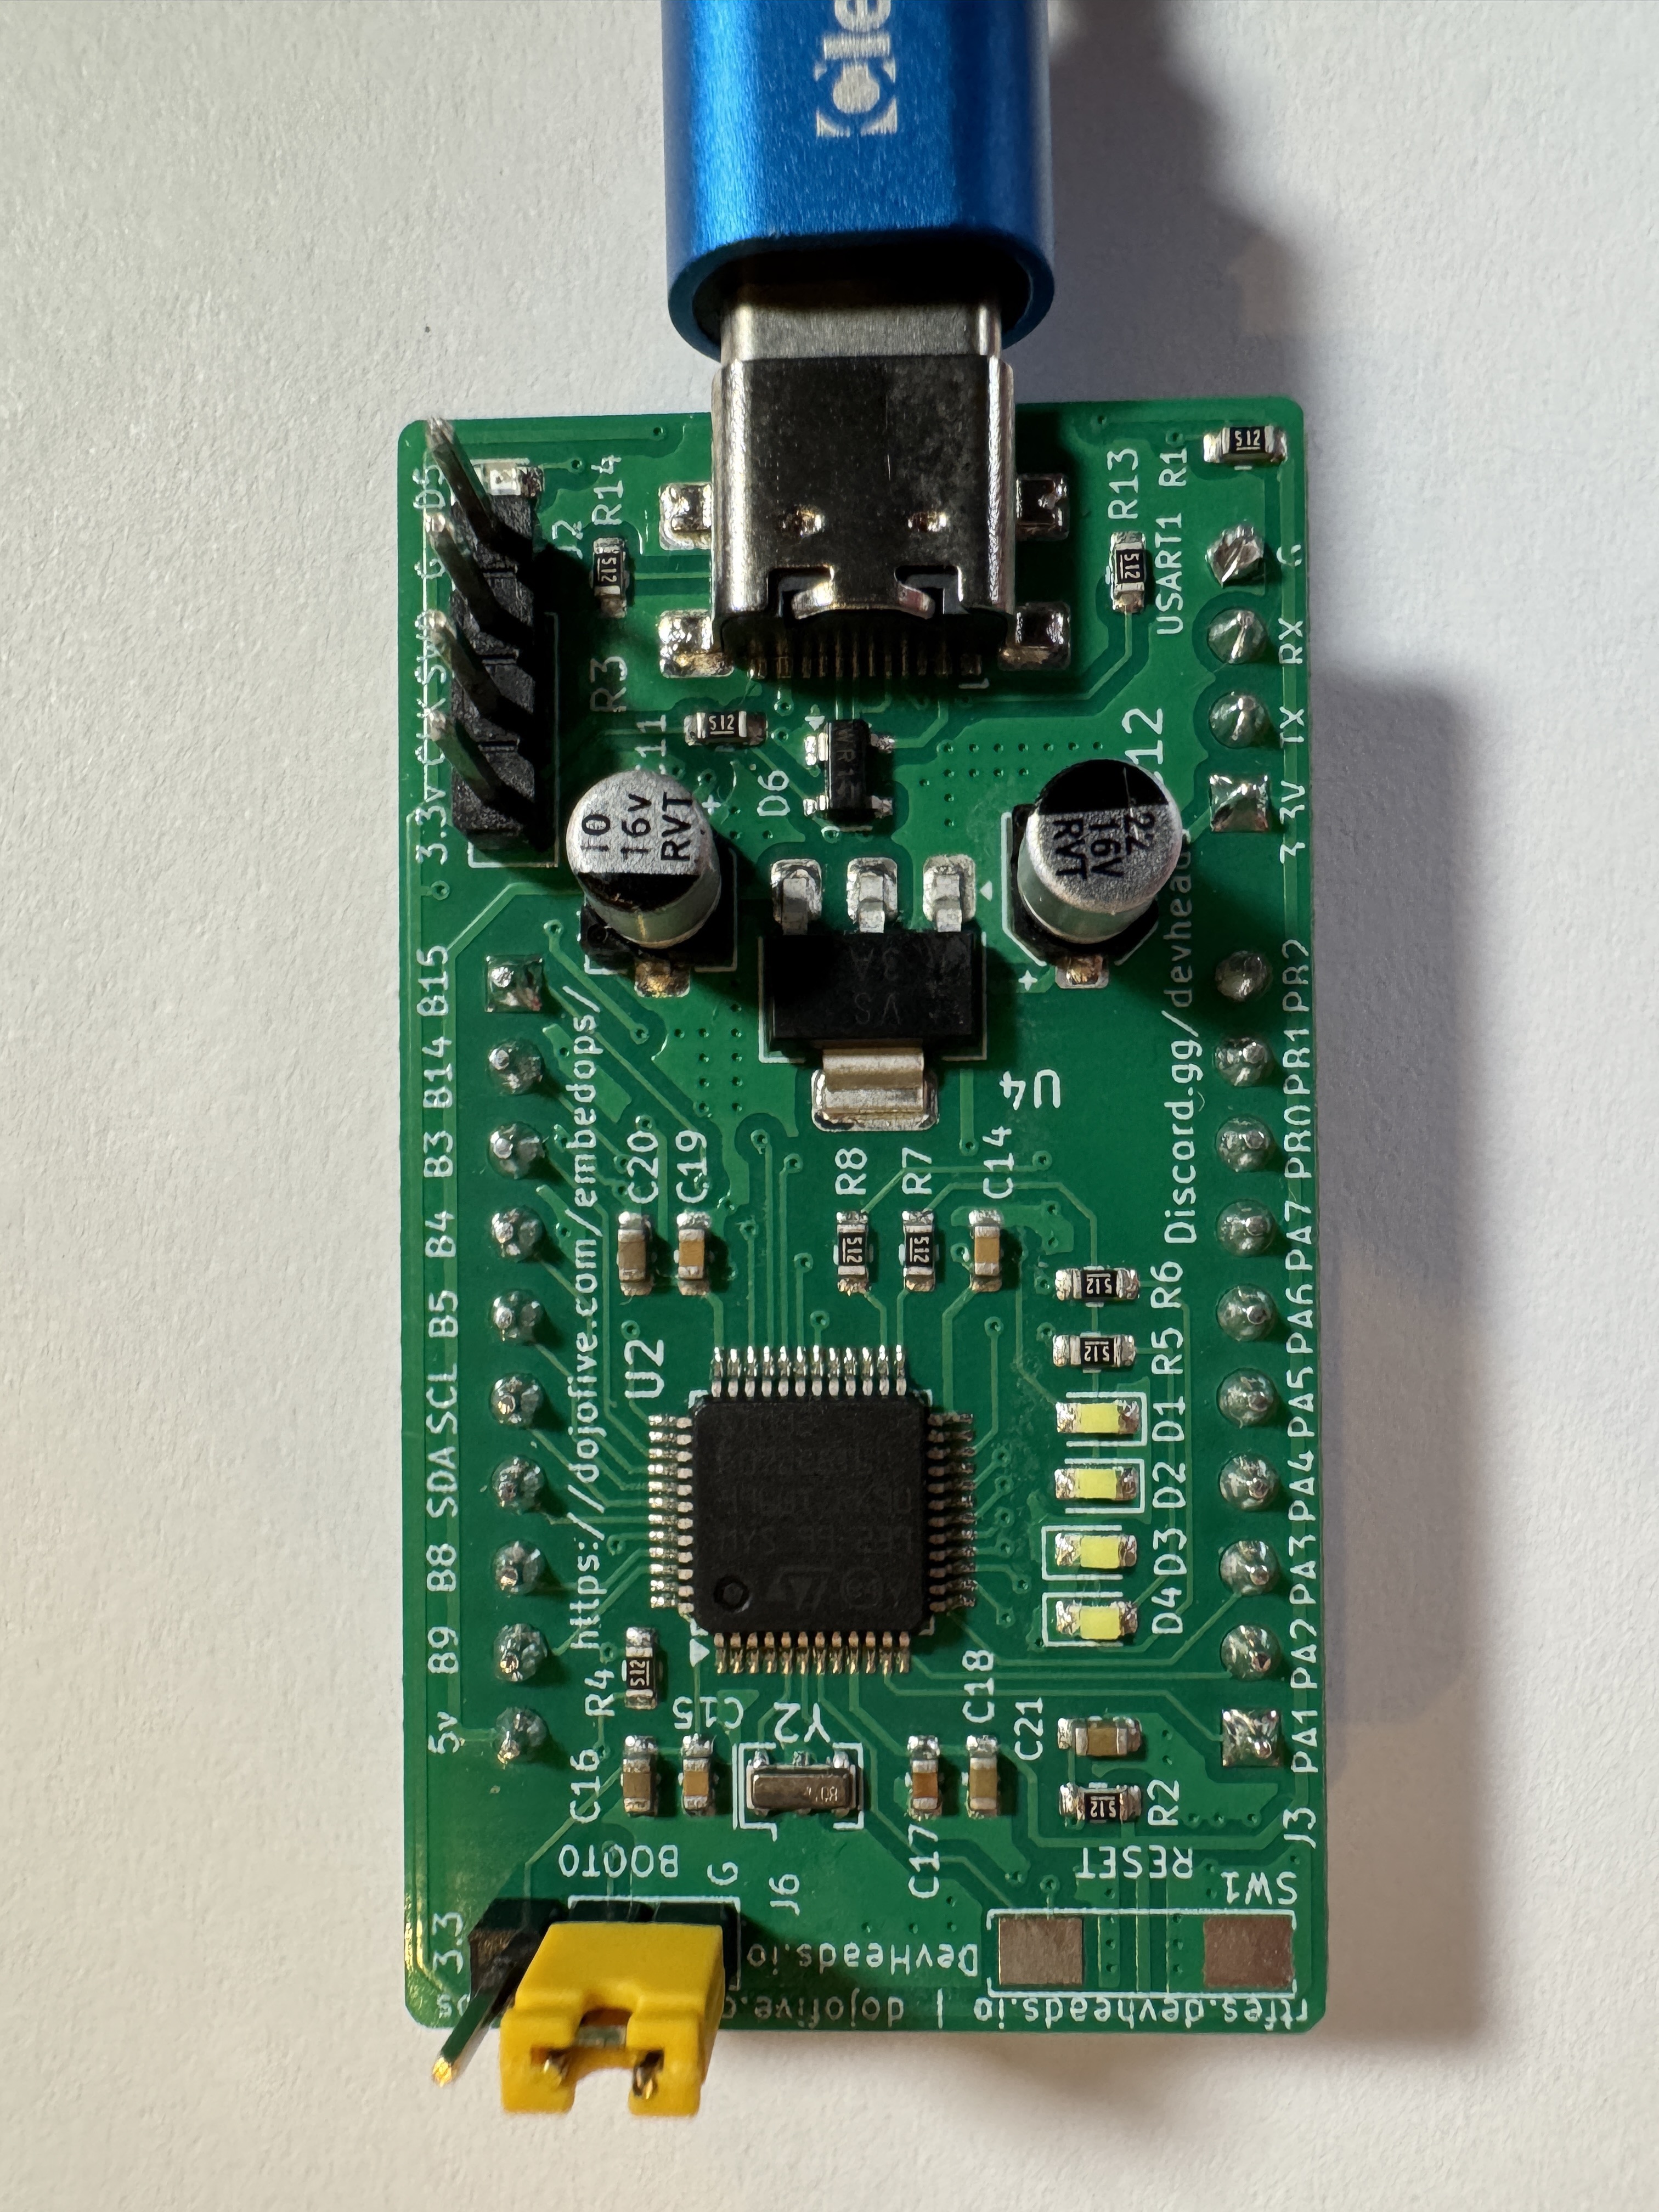
Programming the devkit via USB and built-in USB bootloader is the easiest way to get started. Ensure you place a jumper cap on the BOOT0 pin and power cycle the board to put it into DFU mode.
Flash the application to your board using the helper script (you must not be inside the dev container for this step):
You should see the LED on your board start blinking!
Next Steps: Explore EmbedOps Features
Now that you have a working project, explore these powerful EmbedOps features:
🧪 Add Unit Testing
Add Google Test support for your embedded code:
Learn more in our Unit Testing Guide.
📊 Analyze Memory Usage
Visualize your firmware's memory consumption:
See our Memory Analysis Guide for details.
🔍 Add Static Analysis
Add Cppcheck for code quality:
🔧 Hardware-in-the-Loop Testing
Set up automated testing on real hardware with our HIL Quick Start.
📈 CI/CD Pipeline
Your project already includes CI configuration! Push to your Git provider to see automated builds in action. Run pipelines locally with:
Learn more about CI/CD with EmbedOps.
📋 Requirements Tracking
Track and validate project requirements:
See our Requirements Management Guide.
Getting Help
- 📚 Full Documentation: Explore our complete documentation
- 💬 Community Support: Join our community forums
- 📧 Contact Us: Reach out at support@embedops.io
What's Next?
Congratulations! You've successfully:
- ✅ Set up your EmbedOps development environment
- ✅ Created a Zephyr-based embedded project
- ✅ Built and ran your first application
Continue exploring EmbedOps features to accelerate your embedded development workflow. Check out our comprehensive tutorials for more advanced topics.
Happy coding with the EmbedOps DevKit! 🚀